

Introduction
This guide provides clear and practical instructions for unpacking, positioning, inflating, and preparing the Airelab modular cleanroom, followed by the correct method for mounting the Fan Filter Unit (FFU) to the end-wall fabric.
These instructions apply to all Airelab sizes and configurations. The steps are straightforward and can be followed by any person familiar with basic tools and safe handling practices.
Tools & Materials Required
- Airelab inflation pump and hose
- Cordless drill or driver with appropriate bits
- M8 and M10 socket set
- Allen key set
- Measuring tape
- Stanley knife or sharp cutting blade
- Protective gloves and eyewear
- Step ladder or platform (if required)
- Screwdriver (for alignment during mounting)
- M8/M10 fixings supplied with the FFU
Safety Information
- Ensure the installation area is clear, level, and free from obstructions.
- Wear protective gloves and safety glasses when using tools or cutting fabric.
- Keep hands clear of the inflation valve and rising structure during inflation.
- Do not over-inflate the Airelab beyond the firmness recommended in this guide.
- Electrical connections to the FFU must remain isolated until the unit is fully installed.
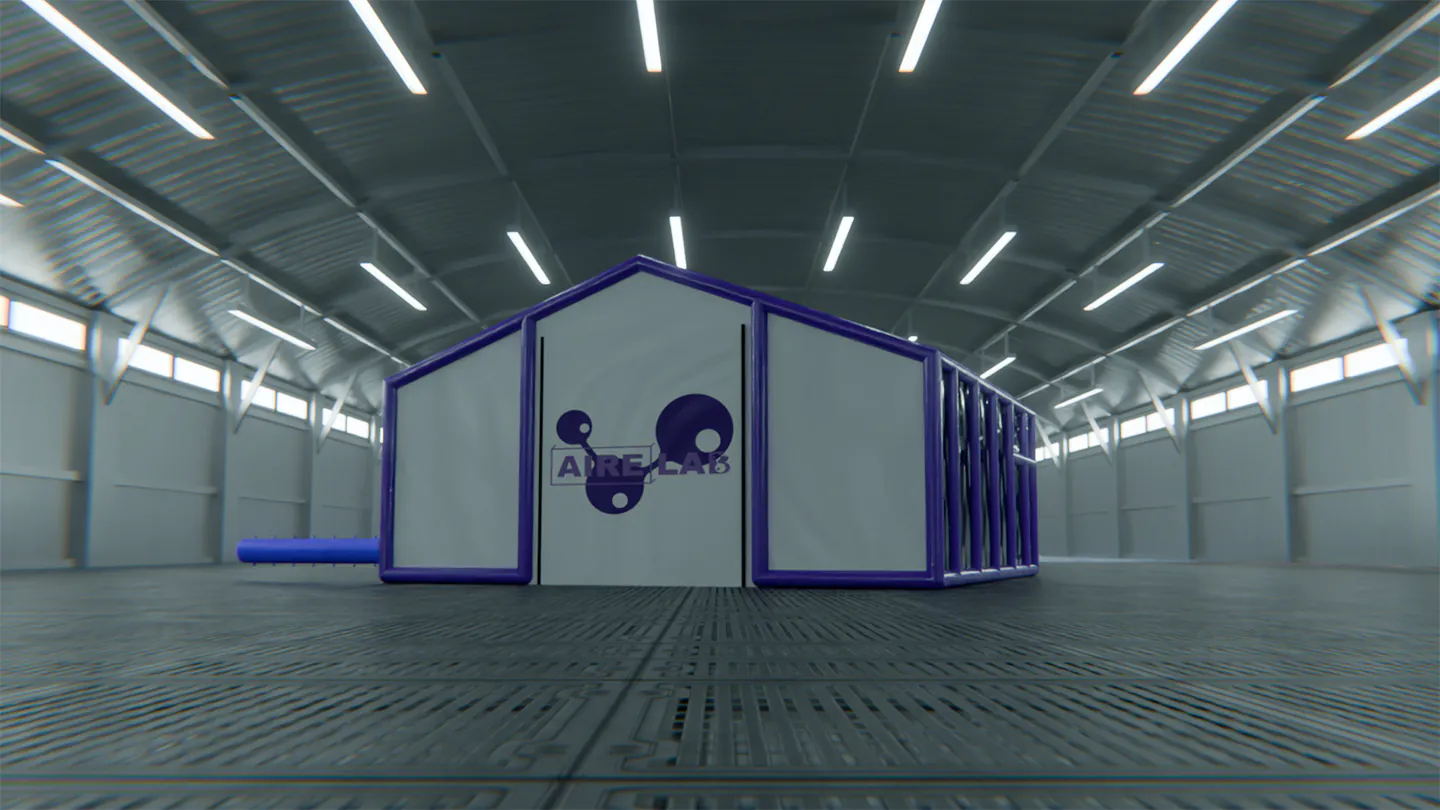
Unpacking & Inflating the Airelab Structure
1. Unpack the Airelab
Remove all packaging and lay the Airelab structure out flat on the floor in the position where it will be
installed, ensuring the orientation matches your layout plan.
2. Locate the Air Valve
The inflation valve is positioned on one corner of the Airelab. Identify this before inflation begins.
3. Connect the Pump Hose
Insert the hose connection into the air valve and twist to lock it securely. Check that the connection is tight.
4. Inflate the Airelab
Switch on the pump. As the structure begins to rise, you may need to assist by guiding the fabric and framework so that it lifts evenly and smoothly.
5. Inflate to Correct Firmness
Continue inflation until the structure supports itself.
The correct pressure is reached when the tubes feel firm to the touch when gently squeezed with an open hand. Do not over-inflate.
It is normal for the Airelab to lose a small amount of air over time, and it may require periodic top-ups to maintain optimal firmness.
6. Check Overall Stability
Walk around the Airelab and ensure there are no twists, folds, or areas of over-inflation. The structure should stand evenly on all sides.
Adding the FFU to the Airelab
1. Position the FFU on its stand and move it close to the end wall where it will be installed.
2. This process requires two people:
- Person 1 goes inside the inflated Airelab with the front face of the FFU grill.
- Person 2 stays outside to assist with alignment and fixings.
3. From inside, press the FFU firmly against the end-wall fabric. This creates a clear imprint of the FFU’s perimeter and fixing holes.
4. Using the imprint as a guide, insert a screwdriver through the fixing holes to ensure precise alignment with the fixing points on the outside.
5. Insert the bolts through the fixing holes. The person on the outside should place the nuts onto the bolts and loosely tighten them.
6. Once all bolts are fitted and alignment is confirmed, tighten the fixings evenly until the FFU is securely mounted.
7. With the FFU in place, use a sharp blade to carefully cut the fabric on the intake face of the FFU frame.
Only cut within the internal frame area to reveal the HEPA filter, keeping the cut neat and controlled.
8. Inspect the assembly to ensure the FFU sits flush, is fully secure, and that the HEPA filter face is unobstructed.
6. Final Checks & Maintenance
Final Assembly Checks:
- All bolts and nuts are fully tightened.
- The FFU is sitting flush and evenly against the end wall.
- The HEPA filter is exposed cleanly and unobstructed.
- The surrounding fabric is intact with no gaps.
- Electrical connections remain isolated until commissioning.
Routine Maintenance:
- Check mechanical fixings periodically.
- Clean or replace FFU pre-filters as required.
- Verify airflow balance during routine validation or performance checks.
- The Airelab may naturally lose a small amount of air over time.
A quick air top-up through the inflation valve will ensure it remains firm and correctly tensioned.
This is a normal part of ongoing use.
Notes
These instructions apply to all Airelab modular cleanroom models and sizes.
For assistance or further technical guidance, please Contact Total Clean Air Technical Support.